Features (Paid Version)
Front End
Our Sponsors List
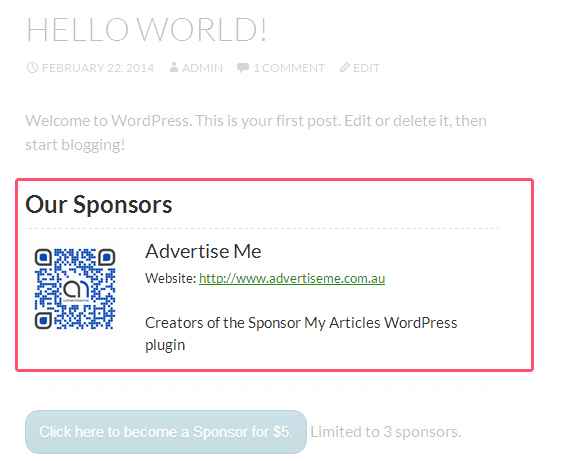
This section displays the list of sponsors and their details. This includes an Image (Business Logo), Business Name, Website address and a description of the business. The number of Sponsors listed is set on the backend by the administrator. In this example only 3 sponsors will be listed.
Click Here to become a sponsor button
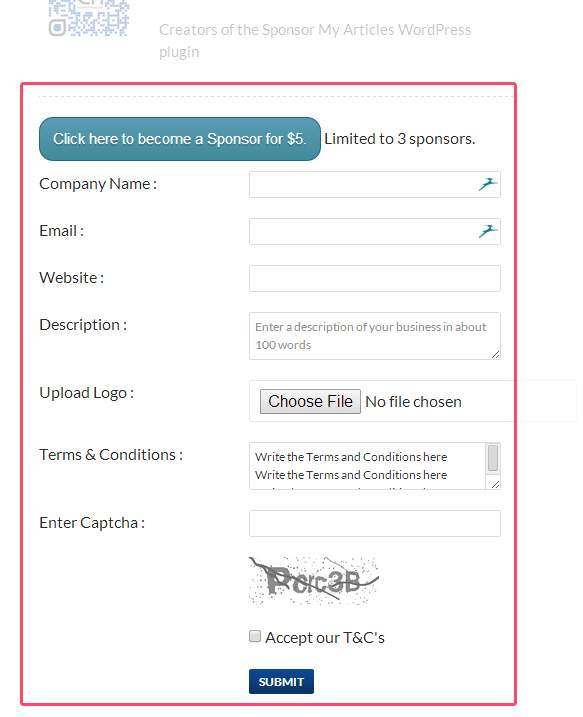
This button opens a form where the sponsor can enter their business details. The forms consists of the following fields:
Company Name (Mandatory): You can enter your business or company name
Email (Mandatory) : this is the email address for notifications. The plugin will send you two notifications. The first email you will receive is for the form submission notifying you that the details were submitted and currently being reviewed.
Once, the administrator reviews and approves the listing, you will receive a second email stating that your sponsorship details were approved and is listed.
Description: You can enter less than 100 words for your business details. You can describe what your business does in this box.
Upload Logo (optional Mandatory): You can upload an image of your logo here.Recommended image is size is 100×100. This field can be made mandatory. We have found that this helps with reducing spam.
Terms and Conditions: This will display the terms and conditions you’ve entered in the backend.
Enter Captcha: You will need to enter the alphanumeric word in the image. This is used to prevent spam.
Accept our T&C’s (Mandatory): you must select this before submitting the form.
Sponsorship Payment Page
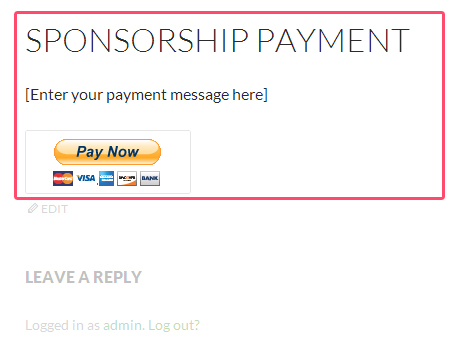
Once the form is submitted, you will be redirected to the Sponsorship Payment Page
This just another page in WordPress with the paypal Pay Now button. You can open the page and enter your own message at the top. The Worpdress Plugin currently only support Paypal and payment is in US$
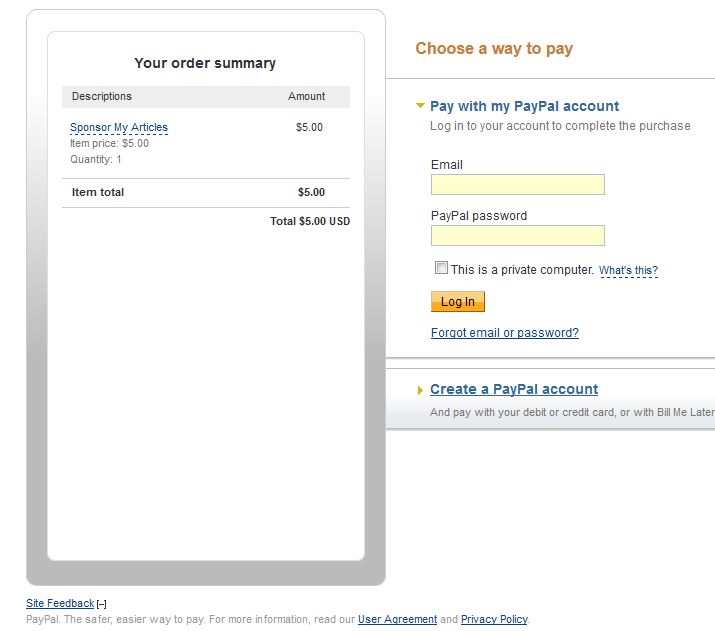
When the Pay Now button is pressed, you will be redirected to the Paypal website just process the payment and you’re done.
NOTE: The administrator will need to change the status of the sponsor from inactive to active. This is a manual process. The reason why we decided to have this as a manual process is for the administrator of the website to check the details before they are published e.g prevent spam or inappropriate submissions.
Back End
Sponsor Settings Page
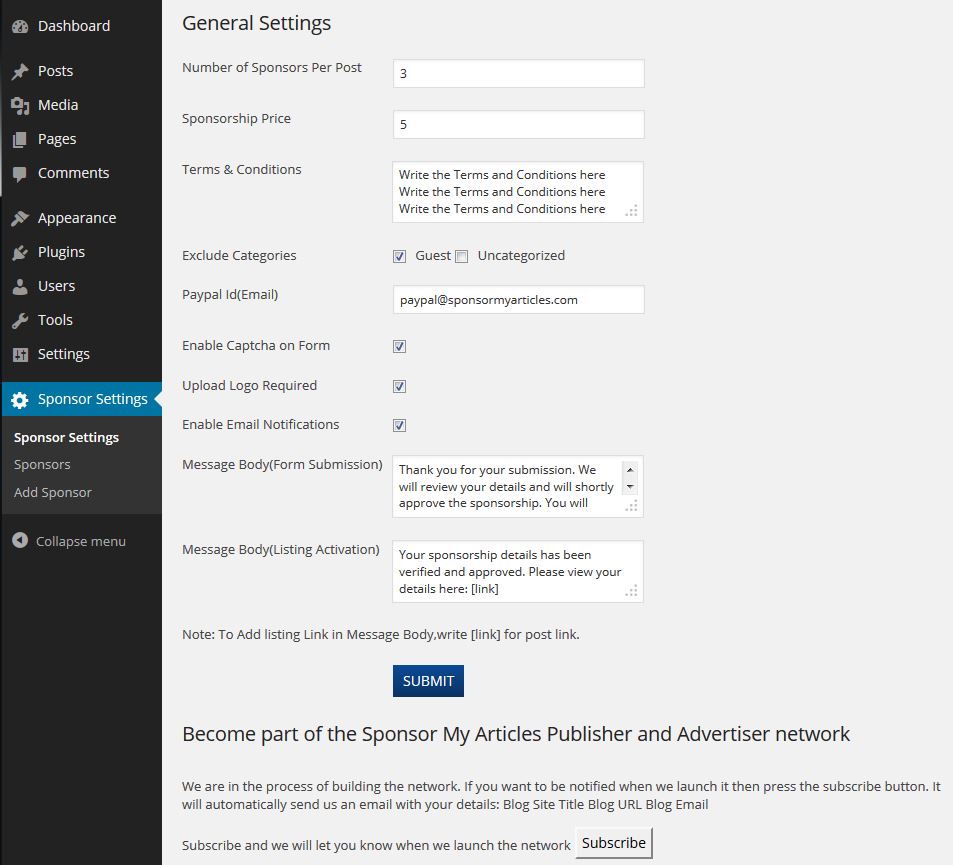
This is where the Sponsor My Articles general settings is located. This page consists of the following options:
Number of Sponsors Per Post: This is where you can set the number of sponsors that can sponsor each article. This is a global setting for all articles on your blog.
Sponsorship Price (in US$): You can set the amount that each sponsor has to pay for sponsoring the article.
Terms & Conditions: This is where you enter your websites Terms and Conditions for sponsoring articles.
Exclude Categories: This setting will allow you to disable the plugin for posts within the category selected. If you don’t want particular posts to have the sponsorship form then create a category and select it on this setting.
Paypal ID (Email): this is your Paypal email address for receiving payment from the sponsors
Enable Captcha on Form: By selecting this checkbox you can enable and disable the captcha form on the front end.
Enable Email Notifications: This will send out email notification to the sponsor when the form is submitted and when the listing is activated. You can use the shortcode [link] in the message body to display the link to the article.
Subscribe button: This button will email your site’s details so that we can notify you when our Sponsorship network is available. If you don’t want to press this button you can always go to https://www.sponsormyarticles.com/subscribe/
Sponsors Page
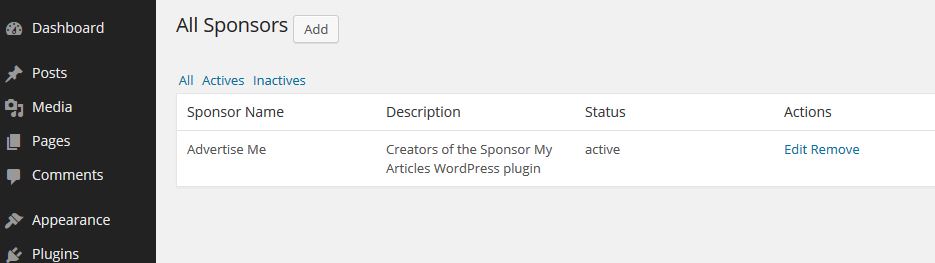
This will display all the active and inactive sponsors. The status column will tell you if the Sponsor is active or not. If its active, the Sponsor’s details will be listed on the sponsored article.
You can also remove the Sponsor by clicking remove.
You can edit the details of the sponsor by clicking on the Edit button.
When the edit button is pressed, you will change the following settings:
Sponsors Name, Website, Email, Descritption, Status and the image (logo).
The Sponsored post section, displays which articles currently have a sponsor.
Add Sponsor
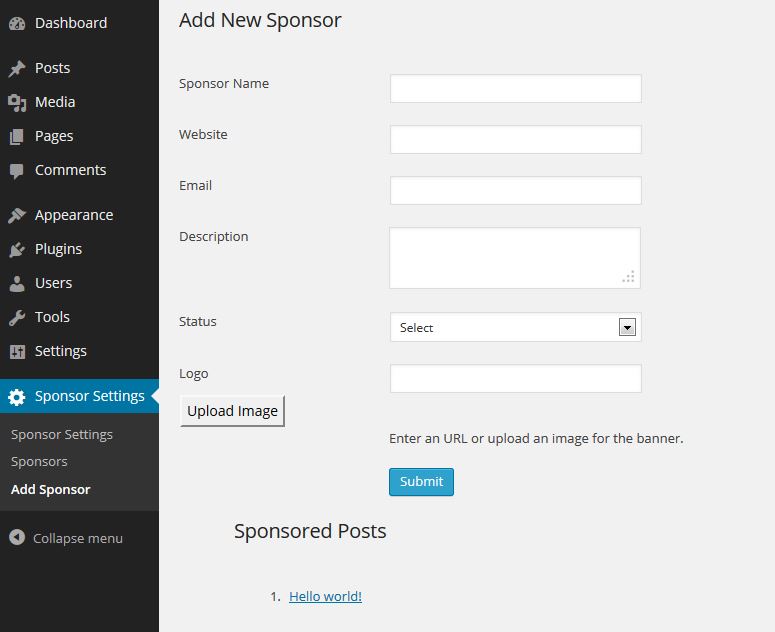
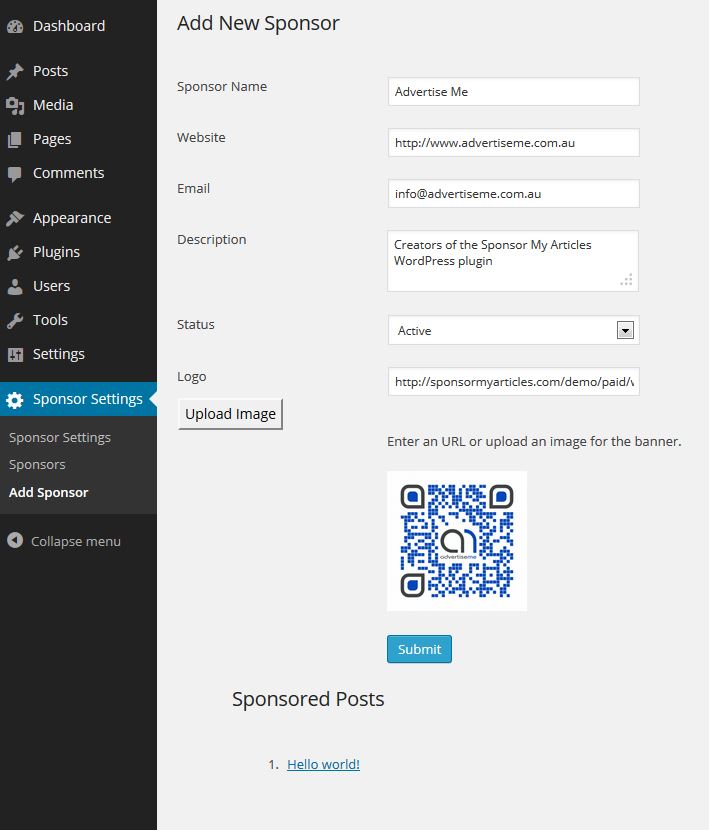
You can manually add the Sponsors to Articles by clicking on Add Sponsor, then fill out all the details.
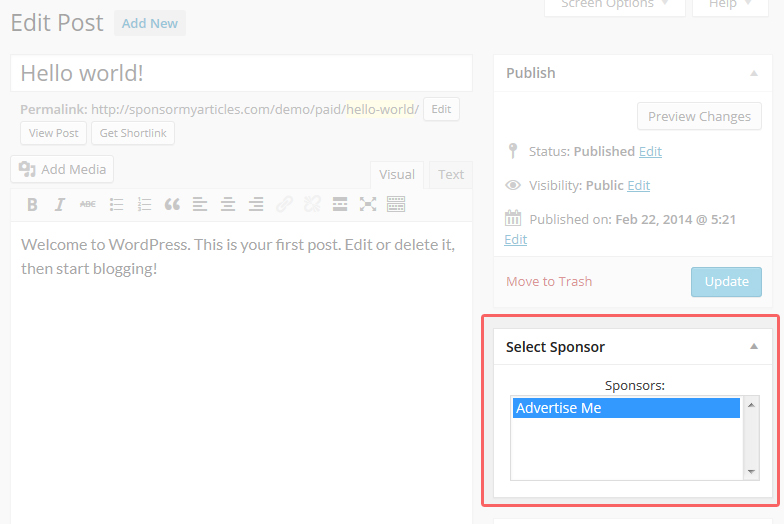
Then go to the article and in the Select Sponsor box, select the relevant Sponsor. You can select multiple sponsors by holding the Control Key and Click on the sponsor.